
If you’re someone who’s used both Shopify and WooCommerce for eCommerce, you may have found Shopify’s blogging ability quite lacking. Whereas WordPress’s Gutenberg page editor gives us access to all kinds of nifty blocks to promote products within our blog posts and pages, Shopify’s editor is much more like the classic WordPress editor, minus those nifty shortcodes.
This means you don’t have a ton of options for inserting products into your blog posts, which is unfortunate. Content marketing is a cornerstone of many online marketing strategies.
But there are definitely ways to accomplish this. Let’s dive into the approaches we recommend here at Sterner Stuff.
Shopify Buy Button
Our recommendation is going to be based on use of Shopify’s Buy Button app. The Buy Button is a free Shopify app that allows you to generate product previews with a button that can be embedded on any site. When a user clicks the “Add to Cart” button within this preview, Shopify adds it to a sort of standalone cart system that lays directly over the website the product was embedded in, separate from your Shopify store’s actual cart. While this may seem a bit disparate when using the Buy Button on the Shopify site’s own blog, it shouldn’t ultimately make a difference to your users.
To get started, go to the Shopify App Store and find the Buy Button channel app. Go ahead and install that to your Shopify store. That will add a new sales channel to your Shopify admin.

This tutorial won’t go into actually creating a Buy Button, but instead will focus on two strategies for using the Buy Button within your blog posts.
Promoting Single Products
Sometimes, you might have a blog post that’s about a single product, or references just one or two products in the context of long-form content about another topic.
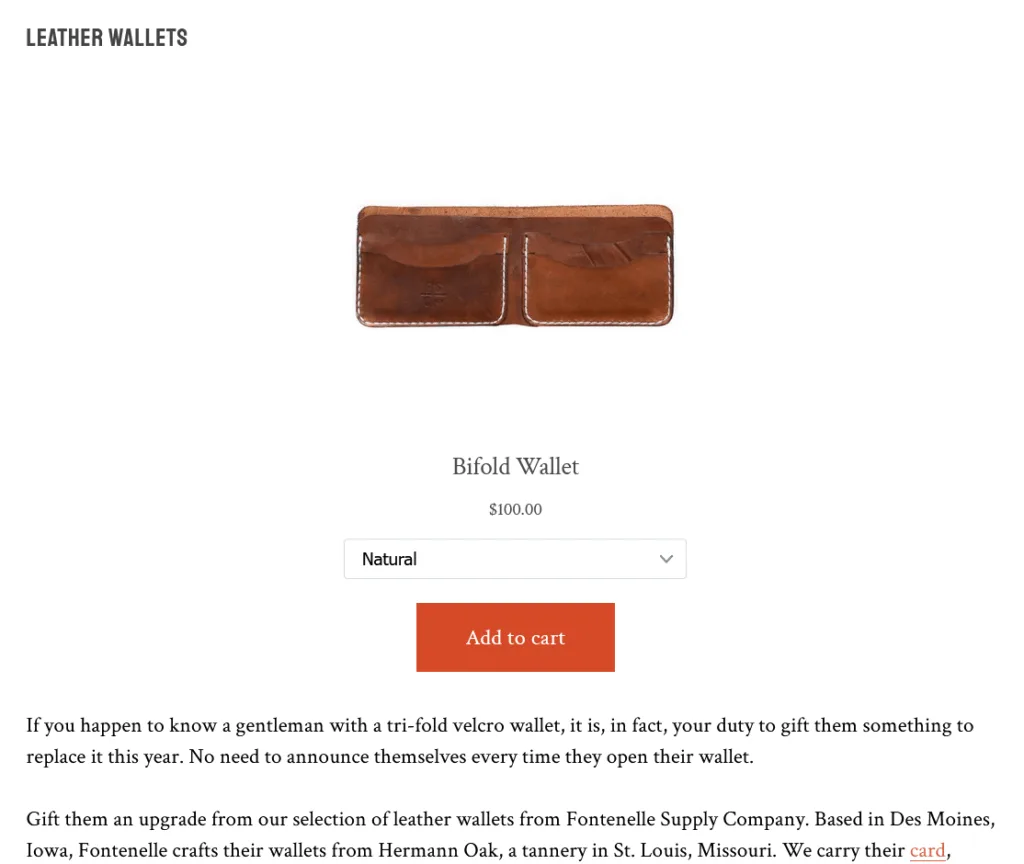
In this case, it’s usually manageable to add the Buy Button into the blog post in-line with the relevant content. Similar to what we showed with the wallet in the above picture – the product is in the middle of the blog post.
Go ahead and create a Product Buy Button in the Buy Button sales channel, and you should get embed code like this:
<div id='product-component-1660766344922'></div>
<script type="text/javascript">
/*<![CDATA[*/
(function () {
  var scriptURL = 'https://sdks.shopifycdn.com/buy-button/latest/buy-button-storefront.min.js';
  if (window.ShopifyBuy) {
    if (window.ShopifyBuy.UI) {
      ShopifyBuyInit();
    } else {
      loadScript();
    }
  } else {
    loadScript();
  }
  function loadScript() {
    var script = document.createElement('script');
    script.async = true;
    script.src = scriptURL;
    (document.getElementsByTagName('head')[0] || document.getElementsByTagName('body')[0]).appendChild(script);
    script.onload = ShopifyBuyInit;
  }
  function ShopifyBuyInit() {
    var client = ShopifyBuy.buildClient({
      domain: 'sterner-stuff-test.myshopify.com',
      storefrontAccessToken: '387d833fa5c9c9c914cc8ae347a09335',
    });
    ShopifyBuy.UI.onReady(client).then(function (ui) {
      ui.createComponent('product', {
        id: '7220095516862',
        node: document.getElementById('product-component-1660766344922'),
        moneyFormat: '%24%7B%7Bamount%7D%7D',
        options: {
  "product": {
    "styles": {
      "product": {
        "@media (min-width: 601px)": {
          "max-width": "calc(25% - 20px)",
          "margin-left": "20px",
          "margin-bottom": "50px"
        }
      }
    },
    "text": {
      "button": "Add to cart"
    }
  },
  "productSet": {
    "styles": {
      "products": {
        "@media (min-width: 601px)": {
          "margin-left": "-20px"
        }
      }
    }
  },
  "modalProduct": {
    "contents": {
      "img": false,
      "imgWithCarousel": true,
      "button": false,
      "buttonWithQuantity": true
    },
    "styles": {
      "product": {
        "@media (min-width: 601px)": {
          "max-width": "100%",
          "margin-left": "0px",
          "margin-bottom": "0px"
        }
      }
    },
    "text": {
      "button": "Add to cart"
    }
  },
  "option": {},
  "cart": {
    "text": {
      "total": "Subtotal",
      "button": "Checkout"
    }
  },
  "toggle": {}
},
      });
    });
  }
})();
/*]]>*/
</script>Code language: HTML, XML (xml)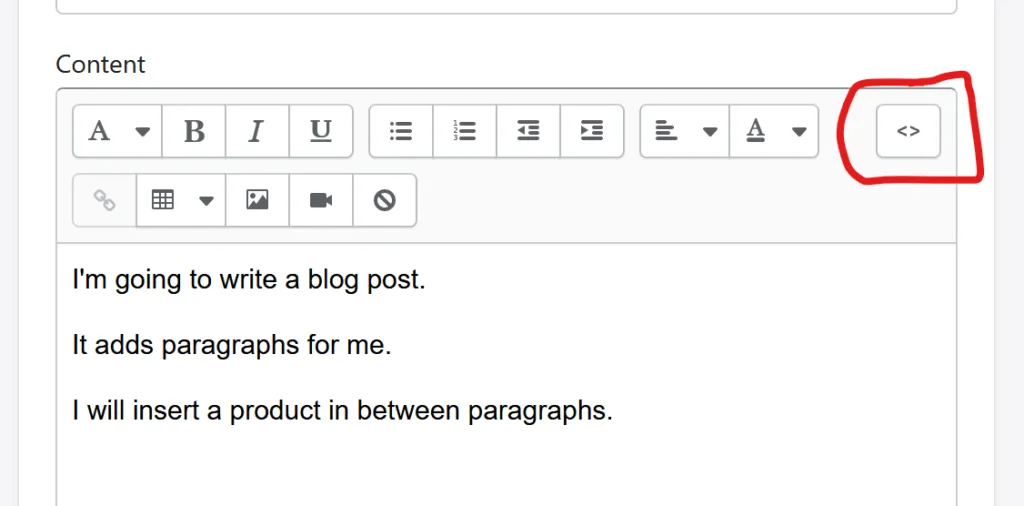
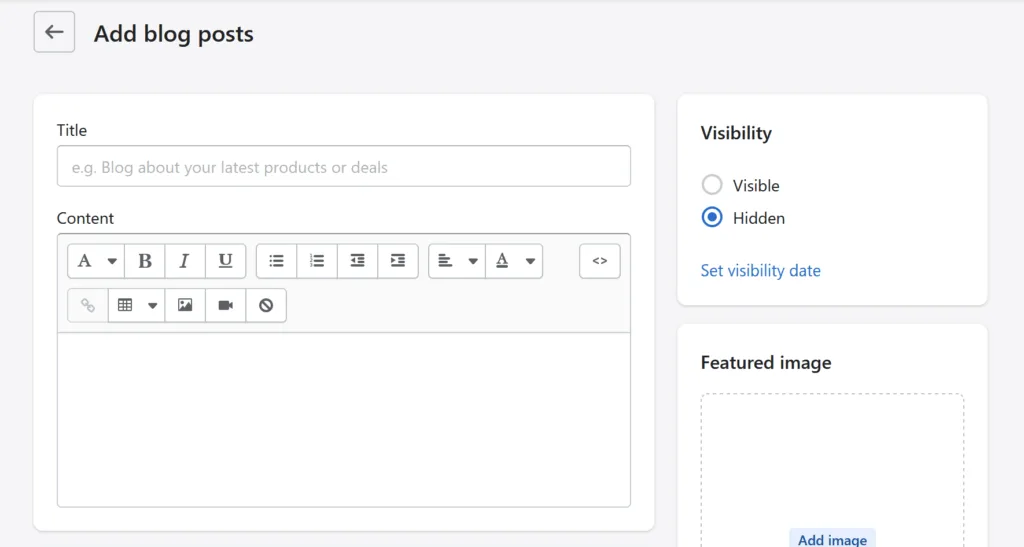
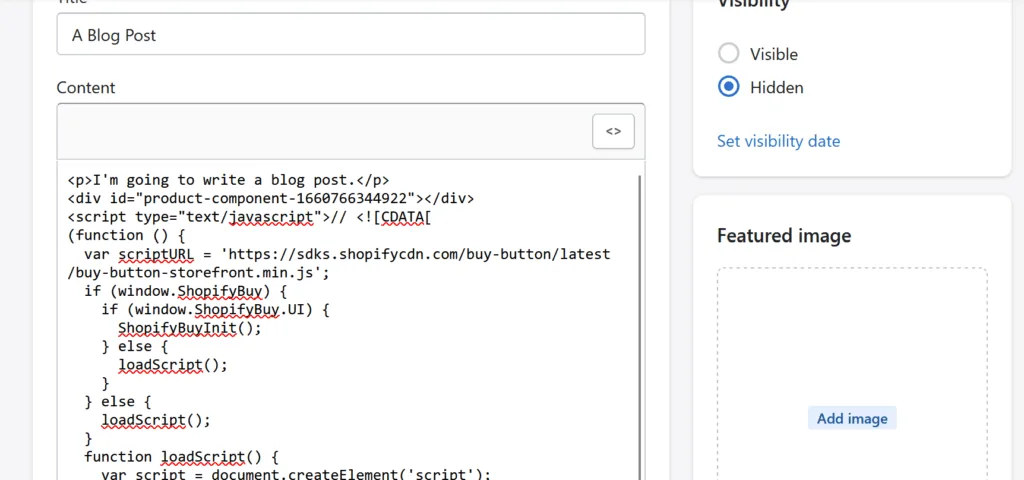
To use the above code in a blog post, you should first write out your blog post.
Then you’ll want to toggle the Shopify blog post editor over to HTML mode and find the content you want to insert your product after. You should see a bunch of </p> tags in the content. These are the ends of paragraphs. After the one that closes out the paragraph you want to add your product after, add a couple returns and paste in the HTML code you got from the Buy Button.
You should end up with something like this:
The user interface for editing this isn’t going to be great. If you toggle back to the non-HTML view, you won’t see your Buy Button. And if you start editing content around it in non-HTML mode, it’s possible to break it.
If you save and view your blog post, you’ll also see that, by default, the product sits at the left-hand side of your blog post, square in between paragraphs:
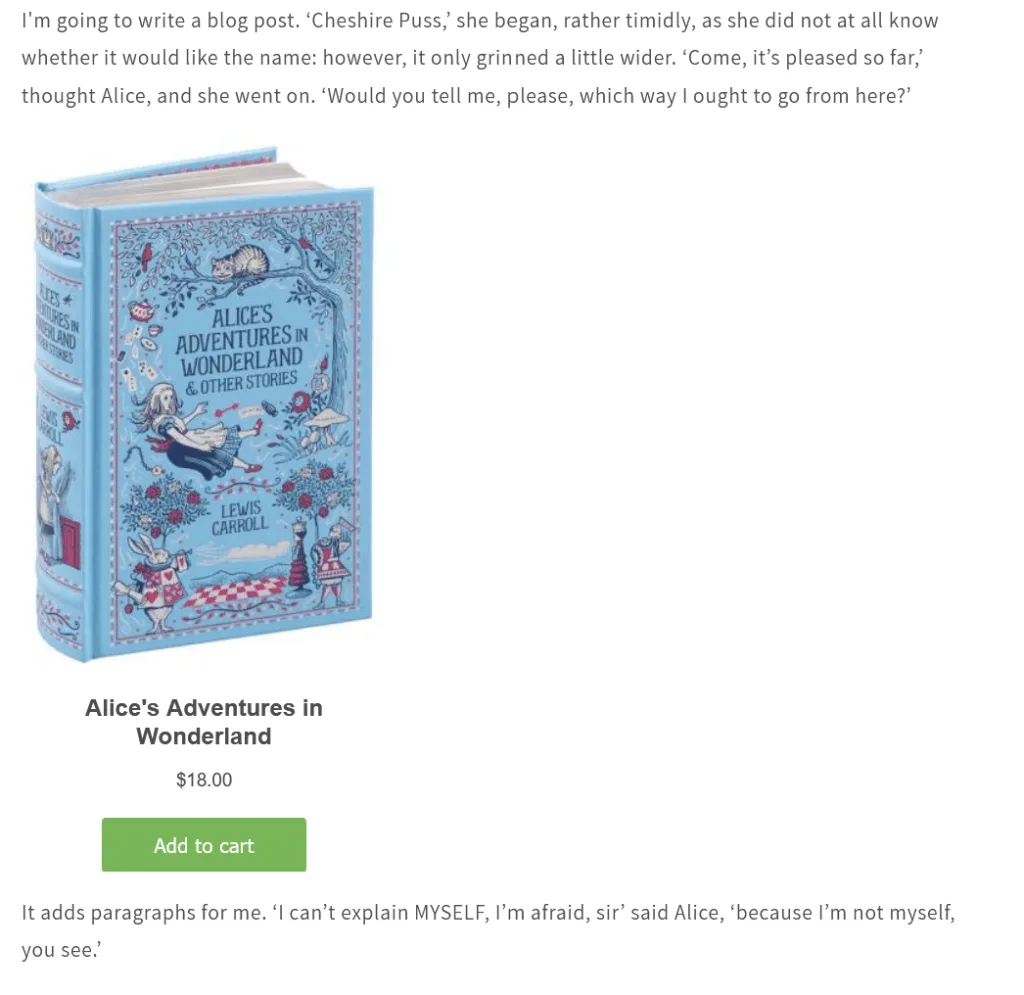
It isn’t very attractive. It’s likely you either want to:
- Wrap text around your product
- Center the product between paragraphs
We can do both of those things.
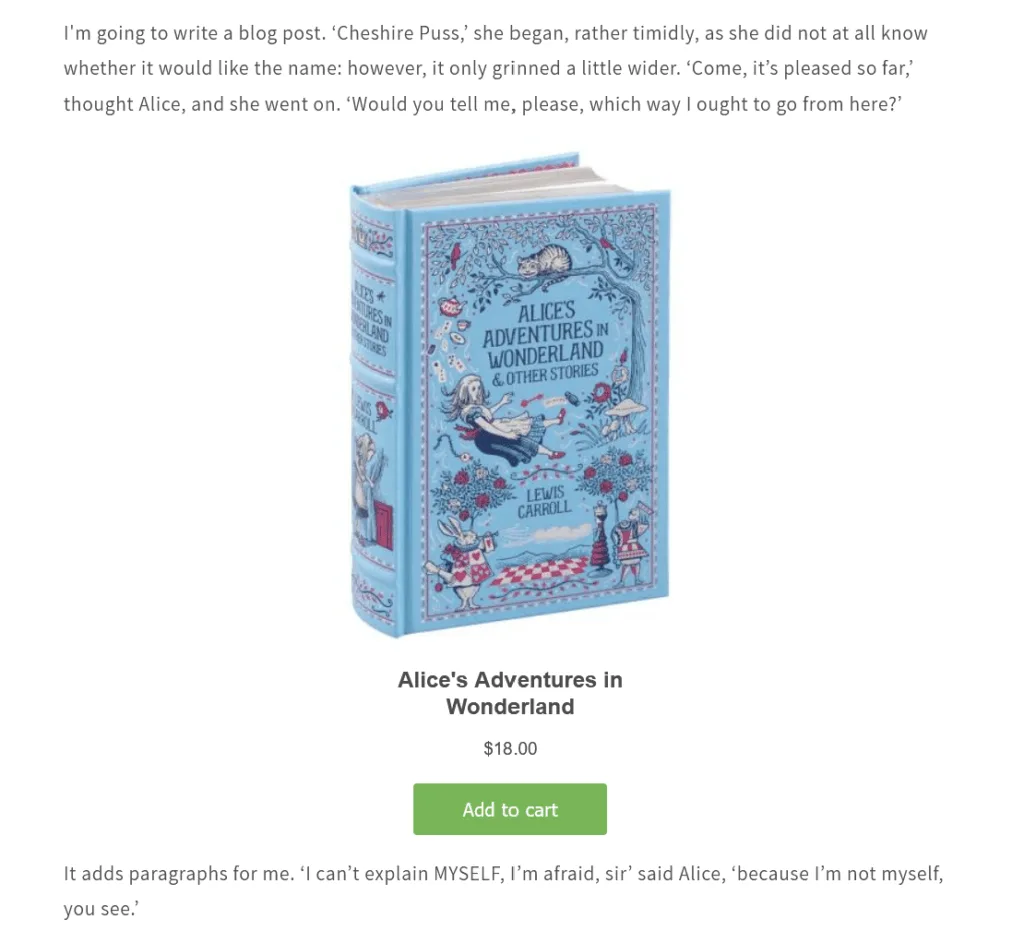
Wrap text around your Buy Button
To wrap text around the Buy Button, you’ll want to edit the code that was generated a bit. The first line of the code generated should look like this:
<div id='product-component-1660766344922'></div>Code language: HTML, XML (xml)To let this product “float” alongside some text, you’ll want to add what’s called a style attribute to this “div”. Edit the code to look like this, which will add a float, plus a little bit of space on the right-hand side so that the text isn’t right against the image:
<div id='product-component-1660766344922' style='float:left;padding-right:15px;'></div>Code language: HTML, XML (xml)Warning: Don’t change the id attribute on this div, or you’ll break the embed entirely. Add the style attribute and keep the existing id.
This should get you something like this:
You can tweak this code to float to the right-hand side easily. Change float:left to float:right to go to the right-hand side, and you’ll probably want to change padding-right to padding-left so that the space is now on the left-hand side, where the text is.
Center the Buy Button
To center the Buy Button, you’ll use a slightly different style attribute. Update the first line of your embed to look like this:
<div id='product-component-1660766344922' style='margin-left:auto;margin-right:auto;'></div>Code language: HTML, XML (xml)What this does is tell the embed to evenly space itself between the left and right-hand sides. It should get you this, centered nice and pretty:
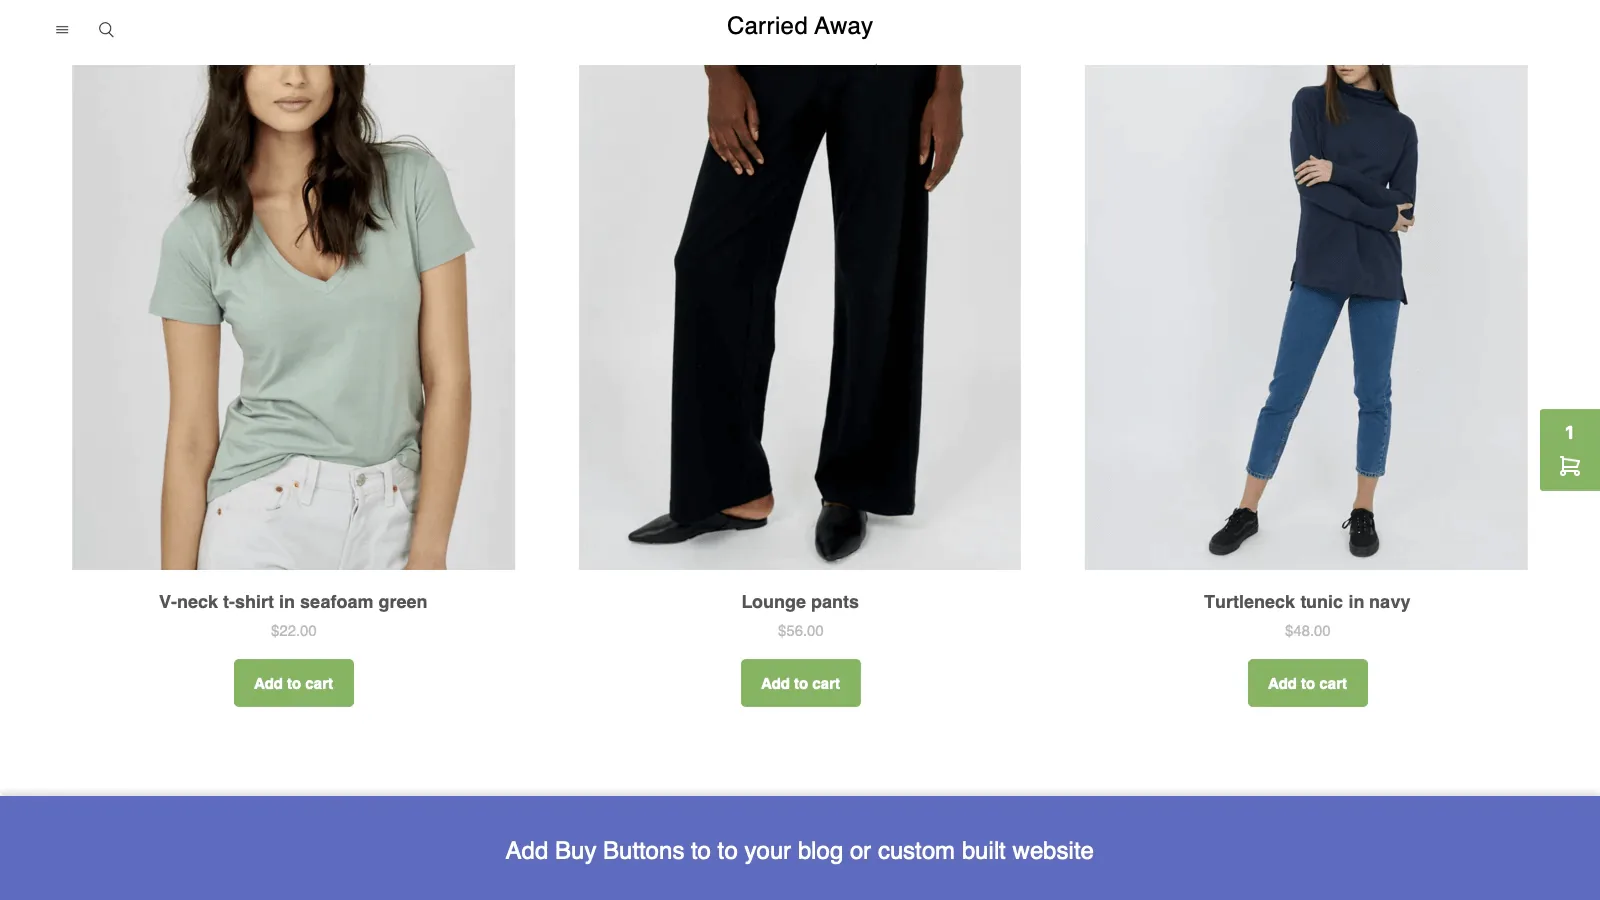
Promoting Many Products
Inserting products into your blog post this way can be a pain. There’s a lot of tinkering to be done, and the content is hard to maintain because you end up scrolling through lots of embed code.
If you want to insert more than one or two products, we recommend a different approach.
First, as you’re writing your blog post and talking about products, create simple hyperlinks within your content that link out to the product’s page on your website.
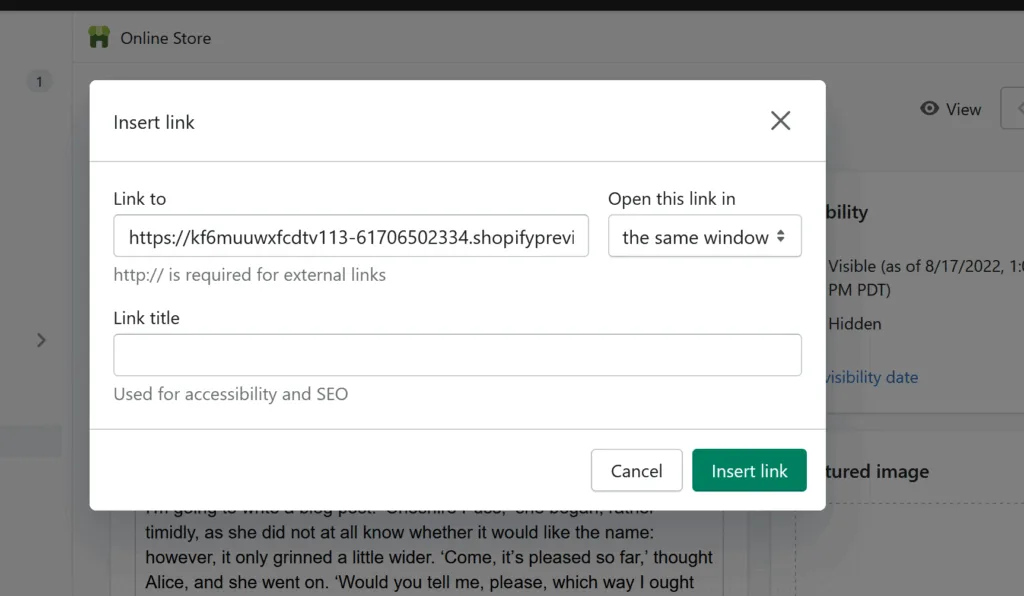
Do this for as many products as you need to link to within your blog post.
Then, at the very end of the blog post, we can use a different kind of Buy Button to promote all the products at once. We’ll create what’s called a “Collection” Buy Button.
To do this, we first need a product collection, as you might imagine. From Shopify, create a new product collection. Make it a manual collection and add all the products you’re promoting in this blog post.

Now go back into the Buy Button sales channel and create a new Buy Button, this time for a collection, and pick the collection you just created. This will generate a new embed code. Go ahead and paste this into the very bottom of your blog post, using the HTML view again. Perhaps include a heading above the collection to explain what it is.
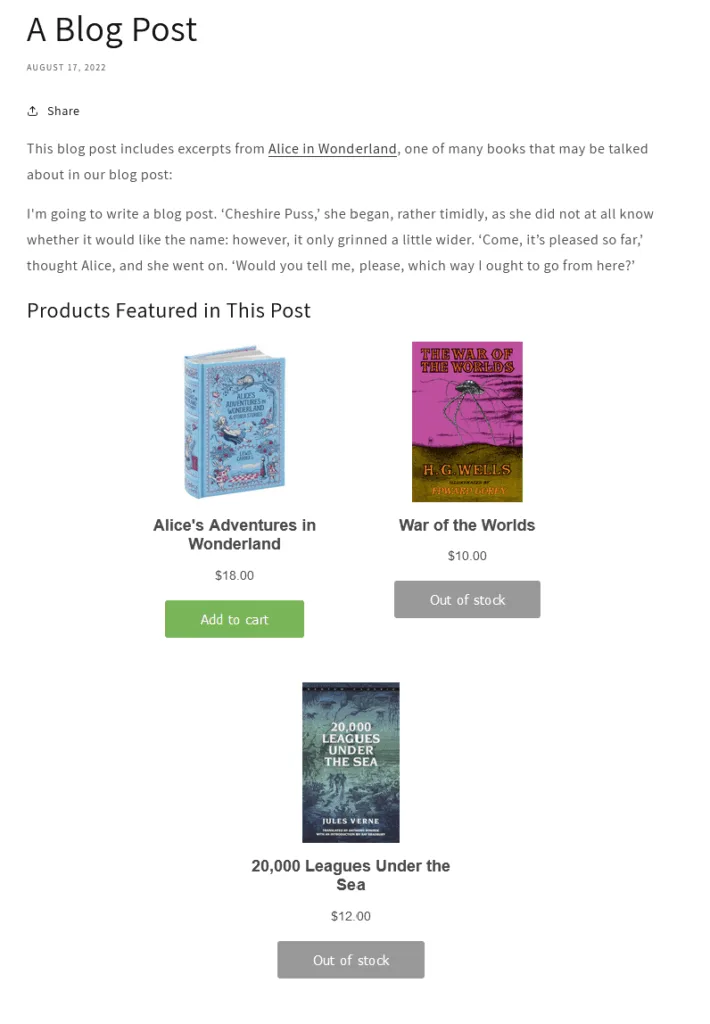
Because this embed contains many products by its nature, Shopify does a pretty good job of making it look nice by default. We don’t recommend tinkering manually with the code. Any customization you need to do should be done within the Buy Button customizer.
And that’s it for this strategy! Your blog post should now contain both inline links to relevant products your customers might consider buying, as well as a nice wrap-up at the end.
Alternative Strategies for Adding Products to Your Shopify Blog Posts
The great thing about the Buy Button strategy for embedding Shopify products into your Shopify blog posts that we’ve outlined here is that it’s 100% free, and it looks pretty great, especially once you apply your brand’s fonts and colors to the embed via the Buy Button’s customizer.
But some folks may want a more powerful solution, in which case, we’d recommend moving away from the default Shopify blog post editor altogether. You may look for a Shopify app that allows you to use something like a page builder for each blog post, or you might even consider blogging on a platform like WordPress and using a different subdomain (for example, Shopify might live at mystore.com, while a WordPress blog could be used at blog.mystore.com). In this case, you might still end up using the Buy Button, or you might build your own custom modules for showcasing products in your blog post.
But these solutions require much more work, and in the case of a page builder app, probably a monthly fee.
Oftentimes, folks who spend too much time worrying about the nit-picky appearance of something like this aren’t focused on the primary objective of their online store: sell products. So move fast, promote products, and move onto the next marketing task. Don’t spend too much time worrying about exactly how these embeds look unless you have time and money to spare. Or, of course, talk to Sterner Stuff. We’ll be happy to help you grow your Shopify store via content marketing and more.
Leave a Reply